
Tile can be elegant, rustic, industrial, or anything in between — and it shows up everywhere in a home, from kitchen backsplashes to bathroom floors. But there’s one part of every tile job that never gets the same love as the tile itself: the grout. If you’ve ever scrubbed a grout line until your arm ached and barely made a dent, you already know the real question isn’t “how do I clean grout,” it’s what’s the best way to clean grout for the specific type of dirt, mold, or discoloration you’re actually dealing with.
The truth is, there isn’t one universal fix. Grout is porous, so it soaks up spills, soap residue, and moisture the way a sponge does — and the right cleaning method depends on your grout type, how dirty it’s gotten, and whether mold is involved. Below is a complete, tested breakdown of the best ways to clean grout at home, plus the mistakes that make grout worse and how to know when it’s time to bring in a professional.
Why Grout Gets So Dirty in the First Place
Grout isn’t glazed like tile, which means it doesn’t repel dirt and moisture the same way. Its surface is full of microscopic pores that trap:
- Everyday dirt and dust tracked across floors
- Soap scum and body oils in showers
- Grease and food residue in kitchens
- Hard water mineral deposits
- Moisture that never fully dries, which is exactly what mold and mildew need to grow
Because grout absorbs rather than repels, the same light wipe-down that works on your tile just moves dirt around on grout instead of lifting it out. That’s why the best way to clean grout always involves getting a cleaner into the pores, giving it time to break down the buildup, and then physically lifting it out — not just rinsing the surface.
Step 1: Identify Your Grout Type Before You Clean
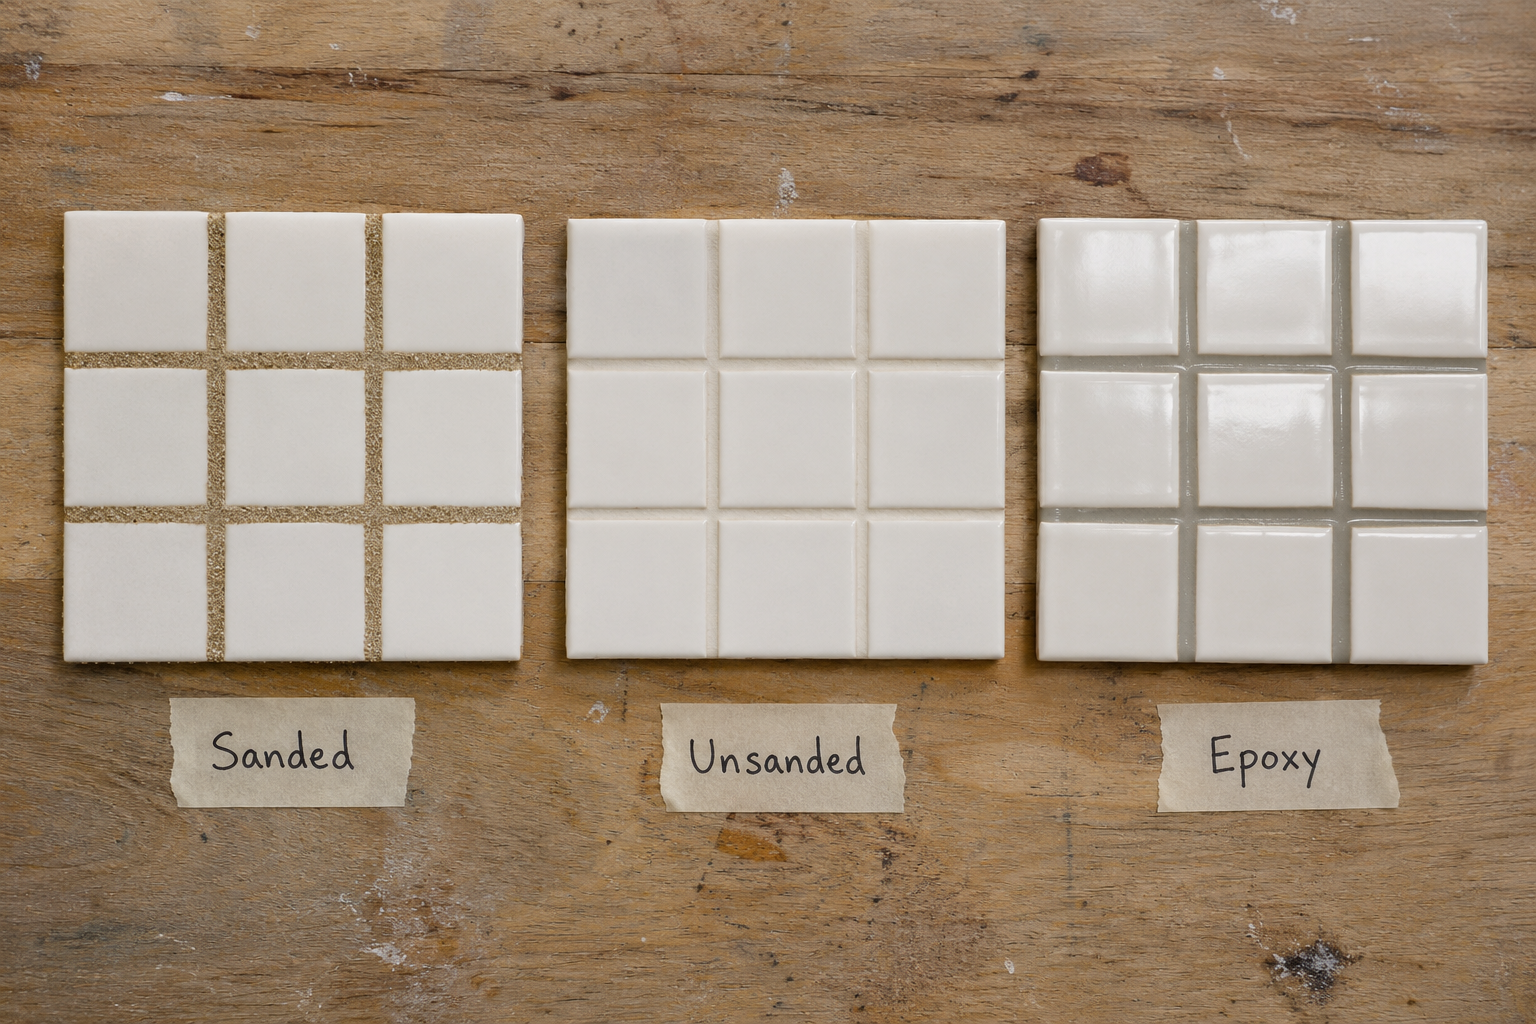
Before you grab a scrub brush, check what kind of grout you actually have. Using the wrong method on the wrong grout is one of the fastest ways to cause permanent damage.
- Sanded grout — used in wider joints (1/8″ or more), common on floors. Holds up well to scrubbing.
- Unsanded grout — used in narrow joints, common on walls and backsplashes. More delicate; avoid harsh acids.
- Epoxy grout — stain- and water-resistant by design, and typically the easiest to bring back to its original color with a thorough cleaning.
- Colored grout — more prone to fading from bleach or strong acids, so test any solution in a hidden spot first.
If you’re unsure which type you have, our guide on tile and grout cleaning tips walks through how to identify it and match your cleaning method accordingly.
What You’ll Need :
Most of these DIY grout cleaning methods use ingredients you probably already have at home:
- Warm water
- Medium-bristle grout brush or old toothbrush
- White vinegar
- Baking soda
- 3% hydrogen peroxide
- Oxygen bleach (optional, for stubborn stains)
- Spray bottle
- Microfiber cloths
- Rubber gloves
7 Best Ways to Clean Grout (Ranked by Stain Severity)
Start with the mildest method that fits your situation, and only move up in strength if it doesn’t fully do the job. This protects your grout from unnecessary wear.
1. Warm Water and a Stiff Brush (Everyday Maintenance)
The simplest, most eco-friendly option is also the safest for any grout type. Wet a medium-bristle grout brush with warm water and scrub in small circles along the grout lines. This lifts loose dirt and light grime, but it won’t touch deep-set stains, soap scum, or discoloration. Use this as a weekly maintenance step, not a one-time deep clean.
2. Baking Soda and Vinegar Paste (Tough, Everyday Stains)
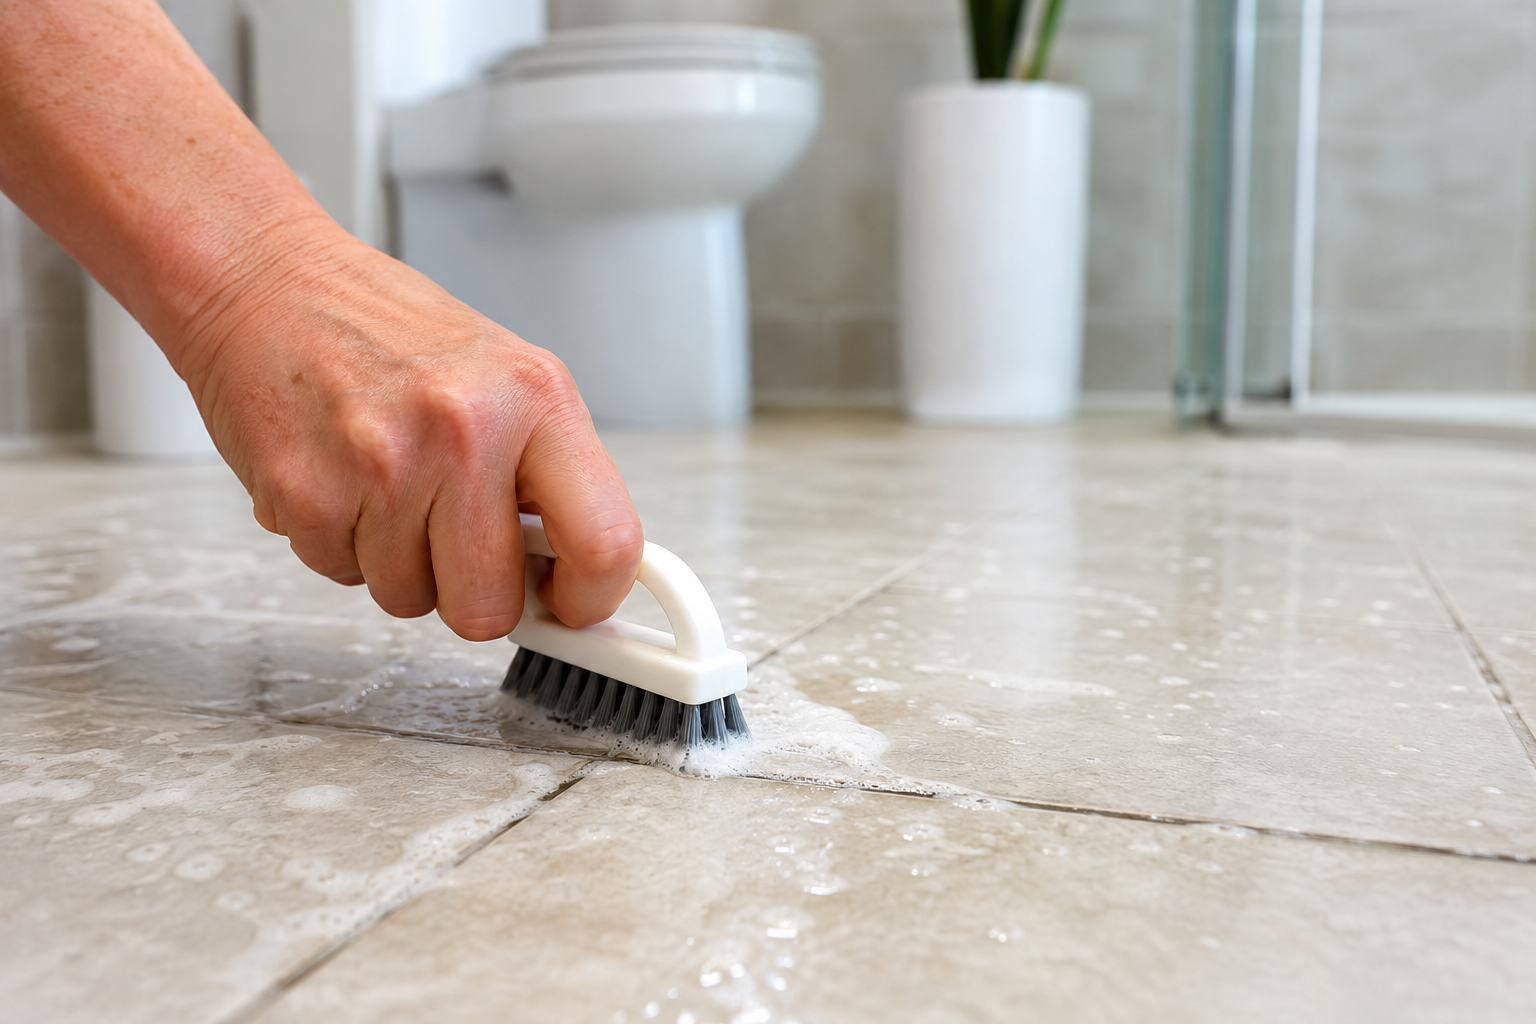
This is the best way to clean grout naturally when you’re dealing with moderate staining and don’t want to use harsh chemicals:
- Mix baking soda with a small amount of water into a thick paste.
- Spread the paste along the grout lines.
- Spray it with white vinegar it will foam as the two react.
- Let it sit for 5–10 minutes, then scrub with your grout brush.
- Rinse thoroughly with clean water.
Important: Vinegar is acidic, so only use it on sealed grout. On unsealed grout, the acid can soak in and weaken it over time. Also skip vinegar entirely on natural stone tile like marble or travertine it can etch the surface.
3. Hydrogen Peroxide and Baking Soda (Mold, Mildew, and Yellowing)
If your grout has gone gray, yellow, or shows dark spots, mold is usually the culprit especially in bathrooms. Hydrogen peroxide is a mild oxidizer that kills mold and mildew without the fumes of bleach:
- Mix ½ cup baking soda with ¼ cup hydrogen peroxide (and a teaspoon of dish soap for grease) into a paste.
- Apply directly to the affected grout lines.
- Let it sit 5–10 minutes so it can penetrate the stain.
- Scrub, then rinse clean.
Never mix hydrogen peroxide with vinegar in the same container – combined, they form peracetic acid, which is corrosive and releases irritating fumes. Use one method or the other, never both at once. This lines up with the EPA’s mold cleanup guidance, which also recommends fixing the underlying moisture source – otherwise, mold will simply grow back no matter how thoroughly you clean it. For a deeper look at removing mold specifically, see our guide on how to kill mold in tile grout.
4. Oxygen Bleach Solution (Stubborn, Set-In Stains)
For grout that’s been neglected for months or years, oxygen bleach offers a stronger option that’s still gentler than chlorine bleach on colored grout:
- Mix 2 tablespoons of oxygen bleach into 2 cups of warm water.
- Test on a hidden section of grout first.
- Pour over the stained area and let sit up to 15 minutes.
- Scrub in small sections with firm pressure, then rinse completely.
Unlike chlorine bleach, oxygen bleach won’t strip color out of tinted grout, making it a safer bet if you’re not working with plain white.
5. Steam Cleaning (No Chemicals, Maximum Reach)
A steam cleaner is one of the best ways to clean grout without scrubbing for long stretches, especially on flat floors. The high-heat vapor loosens grime and kills mold spores on contact, and you simply wipe away the residue afterward. It’s less practical on vertical surfaces like shower walls or kitchen backsplashes, where a handheld attachment or one of the chemical methods above will work better.
6. Commercial Grout Cleaners (Convenience Option)
If you’d rather skip the mixing, a store-bought tile and grout cleaner can work well — just avoid two categories of product regardless of brand:
- Oil- or wax-based cleaners (like some all-purpose polishes), which leave a film that attracts more dirt over time.
- Straight, undiluted acidic cleaners on unsealed or natural stone grout, which can pit or dissolve the surface.
7. Grout Pens or Refresh Coatings (Cosmetic Fix, Not a Deep Clean)
If you’ve tried the methods above and the grout is still discolored — often the case with very old or porous grout — a grout pen or refresh coating can visually restore the color. This doesn’t clean the grout underneath; it seals a fresh top layer of color over it. It’s a fine short-term fix, but it’s worth knowing it’s cosmetic rather than a true clean.
Grout Cleaning Mistakes to Avoid
Even well-meaning cleaning routines can shorten the life of your tile and grout. Watch out for these common mistakes:
- Mixing vinegar and hydrogen peroxide in the same bottle – this creates a corrosive, irritating acid.
- Using vinegar or other acids on natural stone tile, which can etch and permanently dull the surface.
- Skipping the “test spot” step before using bleach or oxygen bleach on colored grout.
- Using oil-based or wax-based cleaning products on tile floors, since these leave behind a film that traps more dirt — the same reason we advise against certain products on natural stone counters and rugs.
- Not rinsing thoroughly – leftover cleaner residue attracts dirt just as fast as the original stain did.
- Scrubbing too aggressively with metal brushes, which can wear down grout lines over time.
How to Keep Grout Clean Longer
Cleaning grout is only half the job — keeping it clean is what actually saves you time down the road:
- Seal your grout once it’s completely clean and dry. A good penetrating sealer keeps moisture, oil, and dirt from soaking back into the pores. Our post on the importance of sealing tile covers how often to reseal and which sealers hold up best.
- Squeegee shower walls and floors after each use to cut down on the moisture mold needs to grow.
- Wipe up spills quickly in the kitchen before they have time to soak into unsealed grout.
- Do a light weekly clean with warm water and a brush rather than waiting for stains to set in — it’s far easier to prevent buildup than reverse it.
For a full maintenance schedule, check out our tile and grout cleaning tips guide.
When to Call a Professional Grout Cleaning Service
DIY methods handle most day-to-day grime, but there are a few situations where it’s worth calling in a professional:
- Mold keeps coming back no matter how often you clean it
- Grout has gone years without a deep clean and DIY methods aren’t lifting the discoloration
- You have large areas of tile — showers, kitchens, or entryways — where hand-scrubbing every line just isn’t realistic
- You want a non-toxic, deep extraction clean without the guesswork of mixing chemicals yourself
Professional cleaning uses equipment and extraction methods that reach deeper into the grout pores than any at-home method can, which is also why it tends to last longer between cleanings. We cover this in more detail in 4 reasons to get your grout professionally cleaned.
At Green-Gen Carpet and Fine Rug Cleaning, we’ve spent years helping homeowners remove deep-set stains and mold from tile grout using non-toxic, eco-friendly cleaning methods — no harsh chemicals, no lingering fumes, just grout that actually looks new again. If you’re local to the area, our Elgin grout cleaning service can handle the deep, extraction-level clean that’s tough to match with DIY tools alone. If you’ve tried the DIY route and your grout still isn’t where you want it, contact us today for a free consultation.
FAQs
1. What is the best way to clean grout without scrubbing?
Steam cleaning is the best way to clean grout without heavy scrubbing — the hot vapor loosens dirt and kills mold on contact, so you only need to wipe the residue away afterward. Hydrogen peroxide-based pastes also work with minimal scrubbing if you let them sit for 5–10 minutes before wiping.
2. Is vinegar or baking soda better for cleaning grout?
They work best together. Baking soda acts as a gentle abrasive that lifts dirt, while vinegar’s acidity breaks down grime and kills mold and mildew. Combined into a paste, they cover most everyday grout stains – just avoid using vinegar on unsealed or natural stone grout.
3. Does hydrogen peroxide damage grout?
No, hydrogen peroxide is generally safe on grout and won’t damage most tile. It can gradually lighten colored grout with repeated use, and it’s not recommended on polished natural stone like marble.
4. How often should grout be cleaned?
A light clean weekly (warm water and a brush) prevents buildup, while a deeper clean using vinegar, baking soda, or hydrogen peroxide every 1–2 months keeps stains from setting in. High-moisture areas like showers may need more frequent attention.
5. Can I mix vinegar and hydrogen peroxide to clean grout?
No. Mixing vinegar and hydrogen peroxide creates peracetic acid, which is corrosive and can irritate your skin and lungs. Use one on the grout, rinse it off completely, and only then apply the other if needed.
6. Why does my grout keep turning black even after cleaning?
Recurring black or dark spots are almost always mold or mildew growing back in grout that stays damp. Cleaning the surface without addressing the moisture source, or without a proper mold-killing solution like hydrogen peroxide, means it will return. Sealing the grout once it’s fully clean helps prevent this long-term.